Exposure MaXx-D 17 and Diablo 15 Lights Plenty of light, all the options.
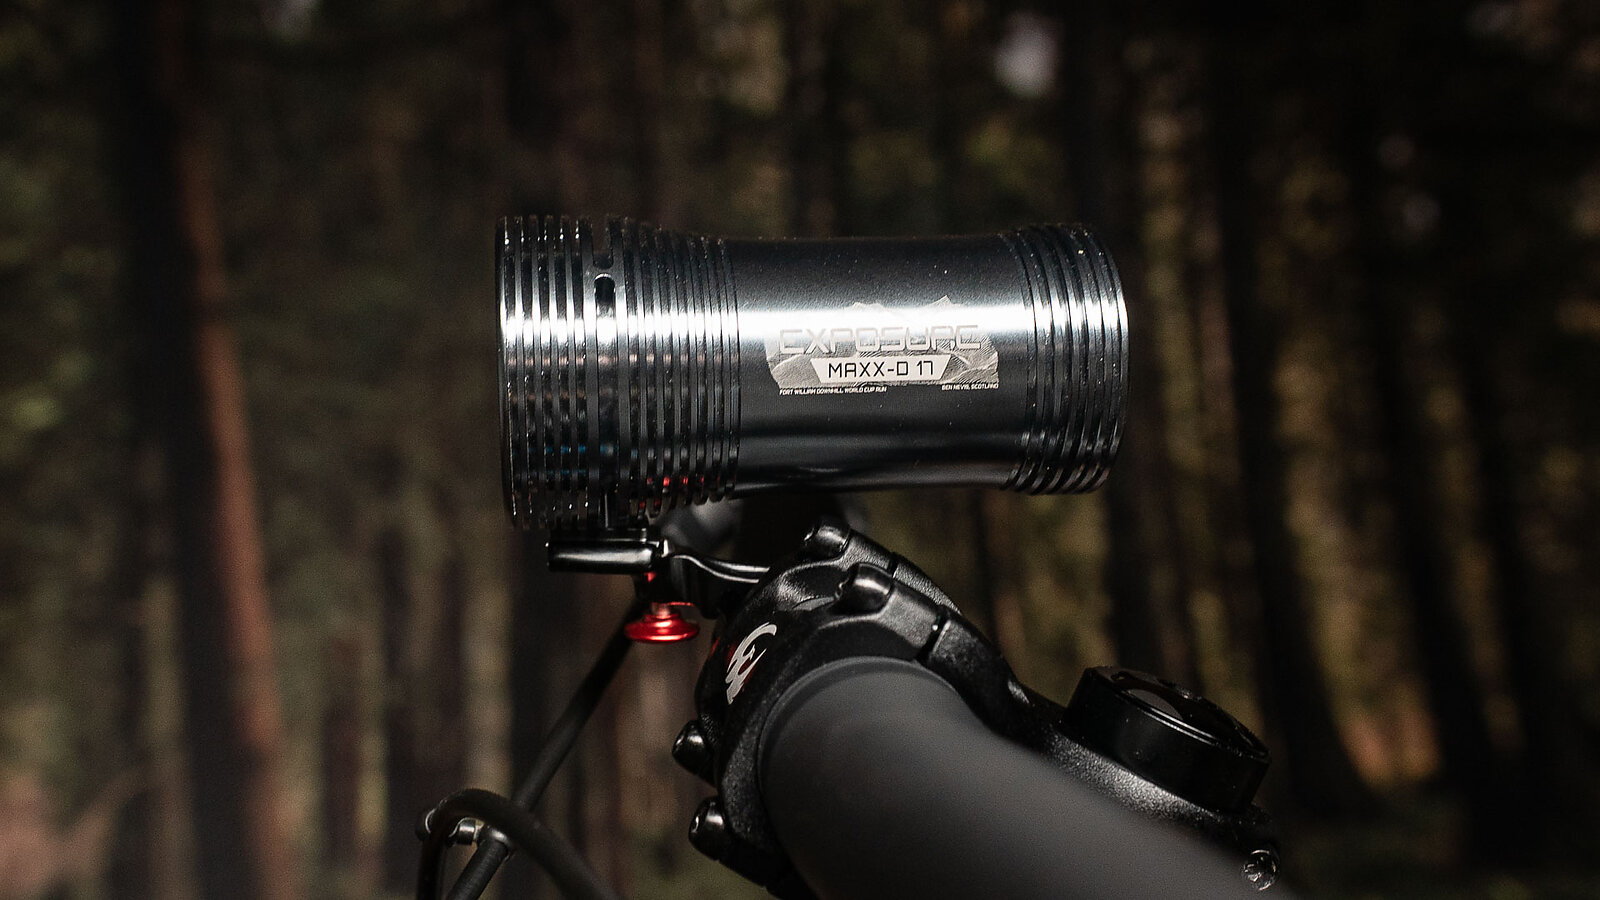
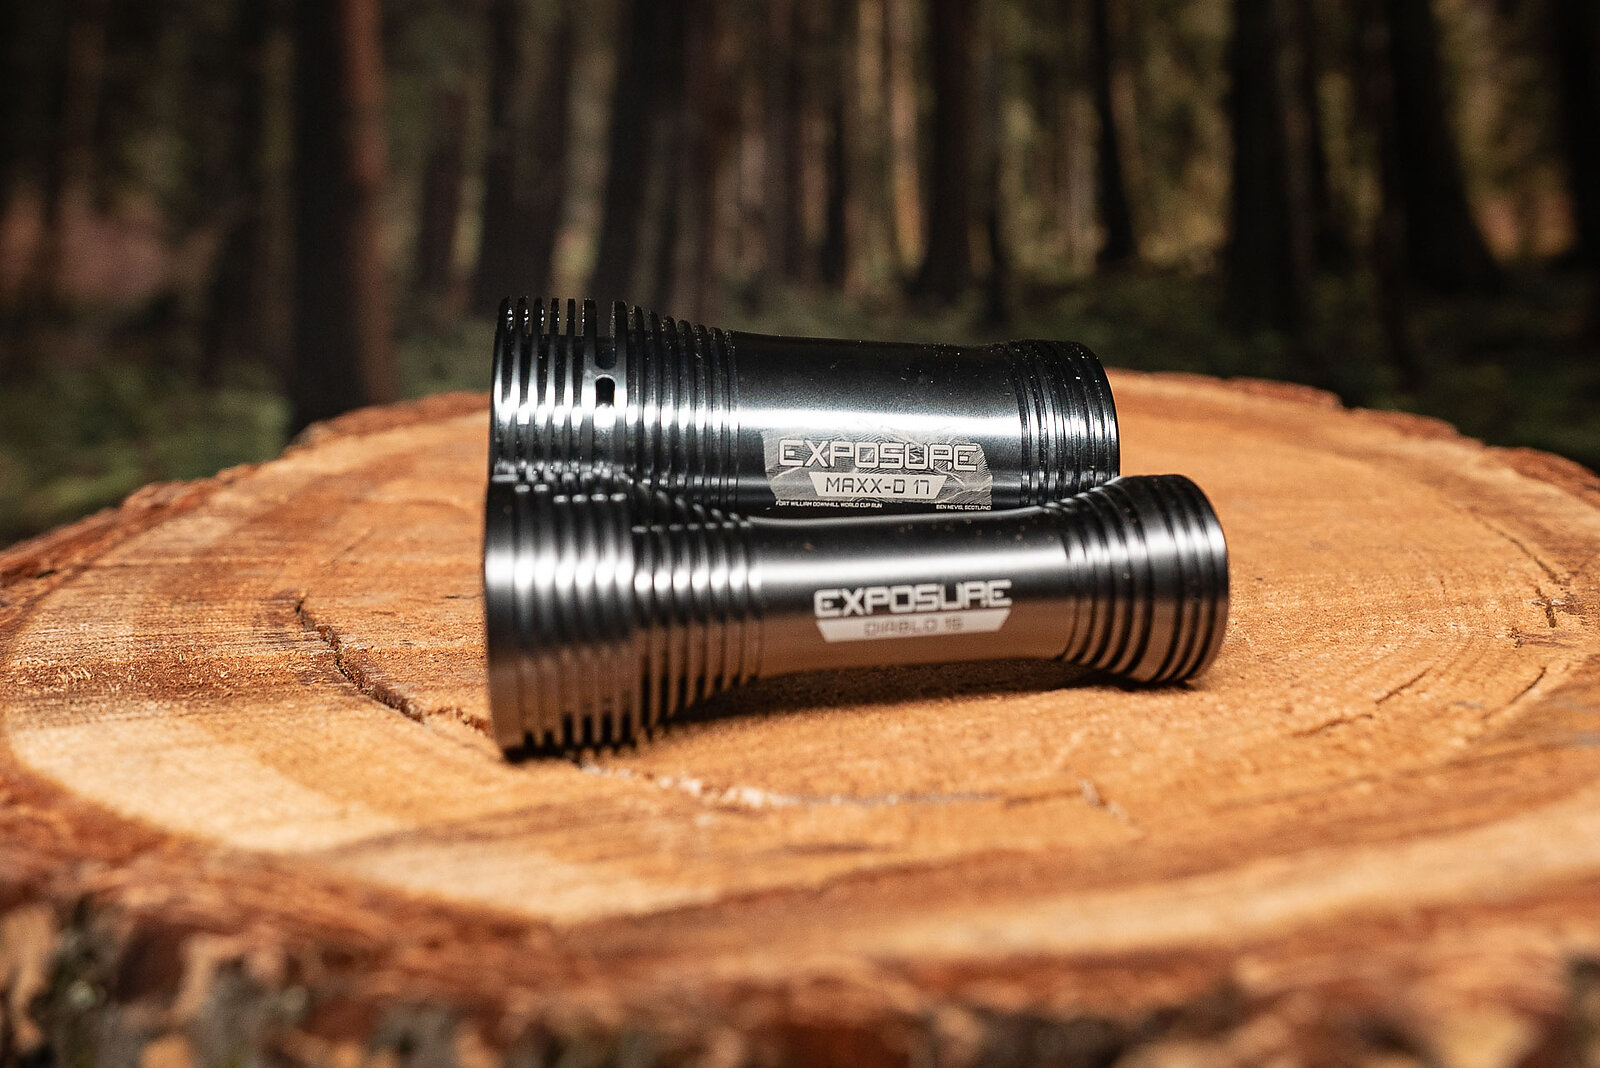
The air is getting colder now and the nights are getting crisp, which means it’s my favorite time of the year, night riding season! But, this year I haven’t been able to limit my nocturnal proclivities to the fall and winter months. Instead, I’ve been snagging late-night laps all summer as well. And my companion for those rides has been the Exposure Lights MaXx-D 17 and Diablo 15 light setup.
While Exposure might not be on the tip of every North American rider’s tongue the brand has been making high-end lights in the UK, with a focus on endurance racing for over 25 years. In that time Exposure has built a name for itself with a premium product and a somewhat mind-boggling array of modes and options. So we’ll get into deciphering Exposure’s product line, as well as how these lights perform on the trail.
Exposure Lights MaXx-D 17 Details
- Lumens: 4850 in the highest “Reflex” mode.
- Battery Capacity: 16,000 mAh
- Weight: 326 g
- Price: $510
Exposure Lights Diablo 15 Details
- Lumens: 2000
- Battery Capacity: 4,000 mAh
- Weight: 118 g
- Price: $260
Exposure Lights Models, Modes, and Battery Life
Exposure Lights believes in options. Out the gate I was a little overwhelmed by the number of models Exposure offers, as well as the number of modes each model can be run in. So it’s worth looking at the line as a whole and where the MaXx-D 17 and Diablo 15 slot into it. Or, you can skip this section and use Exposure’s handy light finder to figure out your needs.
Exposure makes four options for bar-mounted mountain bike lights, the Six Pack 15, the MaXx-D 17, the Race 19, and the Toro 16. The Six Pack is the brightest, heaviest, and most expensive. It’s designed for the most aggressive situations, think DH bikes at night. The MaXx-D is more affordable, has less maximum power on tap, and has a more oval beam pattern for all-round trail and Enduro riding. The Toro 16 is the most affordable and lightest, but also delivers the least light, and is more suited to XC and gravel riding. Exposure tiers its battery sizes so that each light should have approximately equal run times, even though they put out different amounts of light.
For your helmet, you can choose between the Diablo, the Joystick 18, and the Zenith 4. The Diablo 15 is slightly more expensive, heavier, and more powerful than the Joystick, so the more your riding trends towards high speeds and techy trails, the more sense it makes. The Zenith is the biggest, most powerful, most expensive option in the line.
Once you’ve chosen your model and unboxed your light, you need to figure out what mode you prefer. Each light comes with seven modes, and each mode has either high and low, or high, medium and low settings within it. That makes for a lot of options.
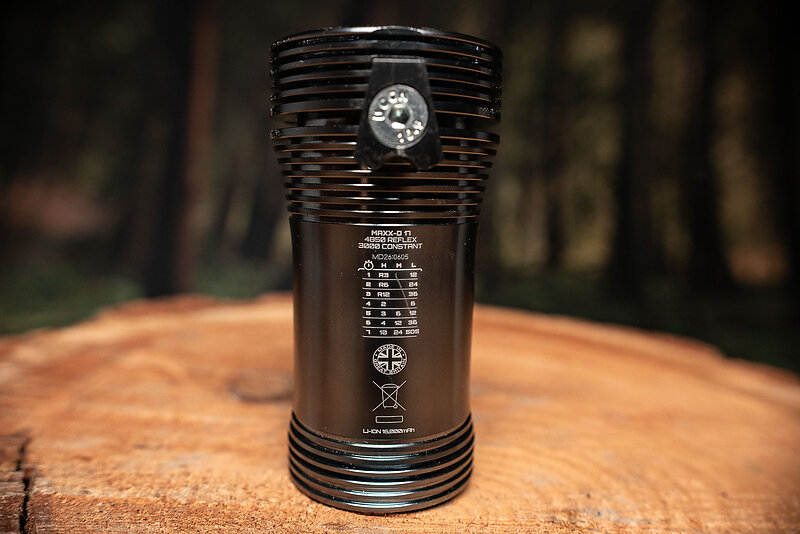
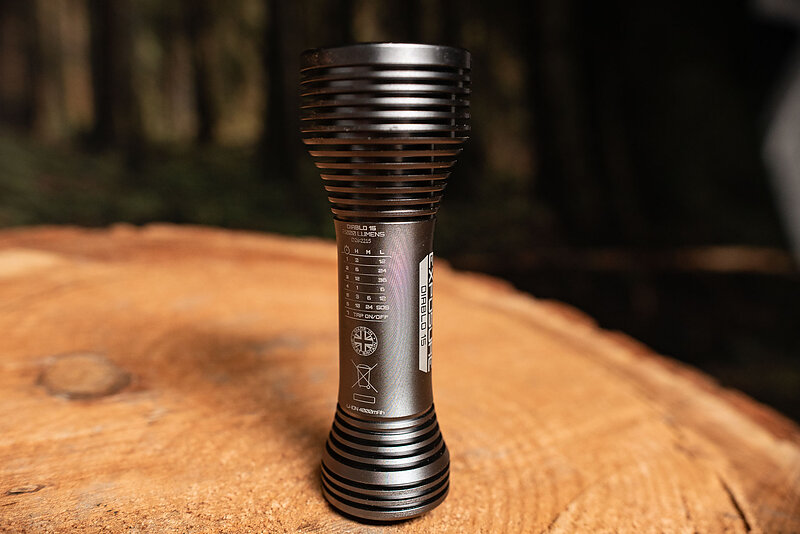
For my riding I preferred to stick to Mode 1 on both lights. This is the most powerful mode, and only comes with high and low settings. That makes my life easy. Low for the climbs, high for the descents, party on. And, as we’ll get into later, Mode 1 uses Exposure’s patented Reflex tech, which makes a notable difference in usable light and battery life.
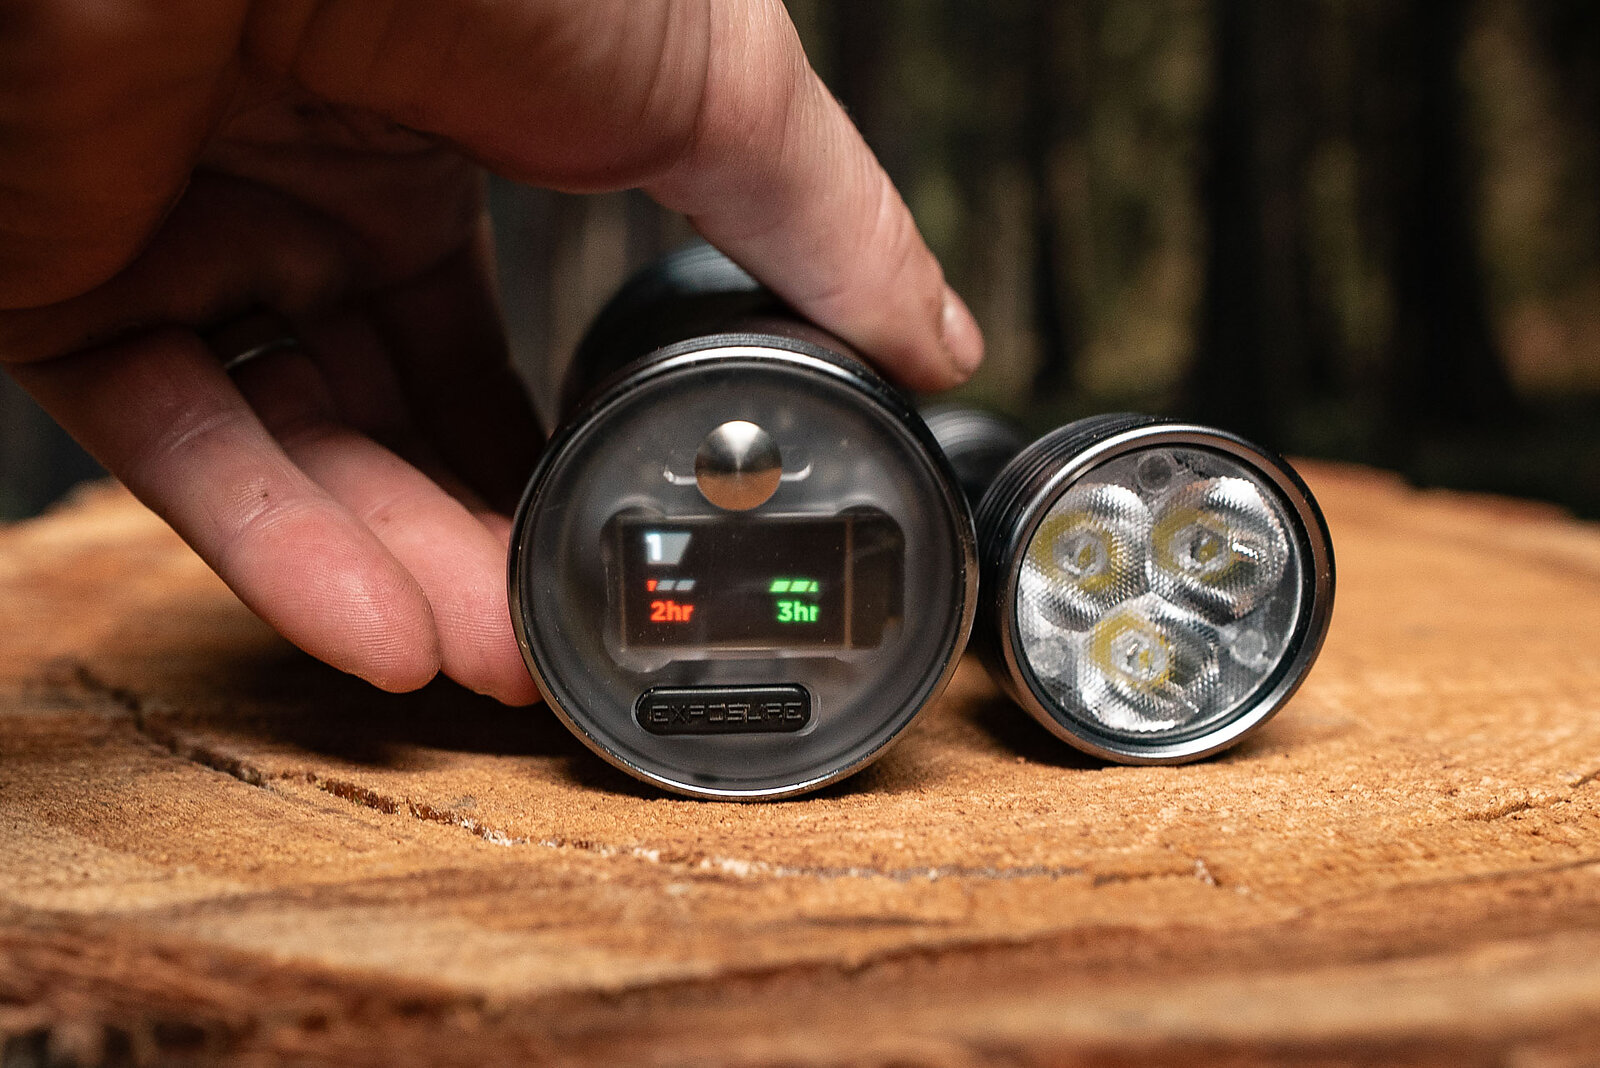
Unsurprisingly for a company with 24 hour racing roots, Exposure cares a lot about battery life. The MaXx-D has a built-in color screen that displays your mode, as well as your estimated ride time in that mode. And, once that time runs out, you get 30 minutes of reserve power that gives you a low-light beam to hopefully get you home safely. I actually ended up using that mode once, when I didn’t charge my lights fully before the ride, and it provided plenty of light to ride home slowly and carefully.
Additionally, the lights can be charged via USB-C with a power bank while in use, and can also be used as a power bank to charge other USB devices like bike computers if need be.
What’s the deal with Reflex?
Reflex is a system Exposure has designed to help the light tailor its output to your riding on the fly. There’s a gyroscope and thermistors inside the light that measure the light’s movement to estimate how hectic the trail is, and adjust the light accordingly. The light actually “learns” from your riding and adjusts its settings to get you the best light-battery life ratio. That learning process happens over your first three rides, and the light should get better at modulating its output after those rides. I found that right out of the gate it stayed dimmer on rougher trails more than I would have liked, but after a couple of rides it had adjusted and everything felt seamless.
On the trail, Reflex mode is noticeable. The lights get dimmer when you’re pedalling slowly up smooth trails, providing enough light to ride, but not burning a bunch of lumens for no reason. Once things speed up and get bumpy though, they quickly adjust to max power, flooding the trail to match your speed.
Once you get used to it, Reflex is a fairly smooth experience. I found that for prolonged climbs I still prefer to swap fully into a lower power mode, but for rolling trails, and descents with small climbs in them, Reflex is ideal, especially because you don’t need to pause and swap modes. Instead it creates a much more fluid trail riding experience, more akin to daytime riding.
Mount System
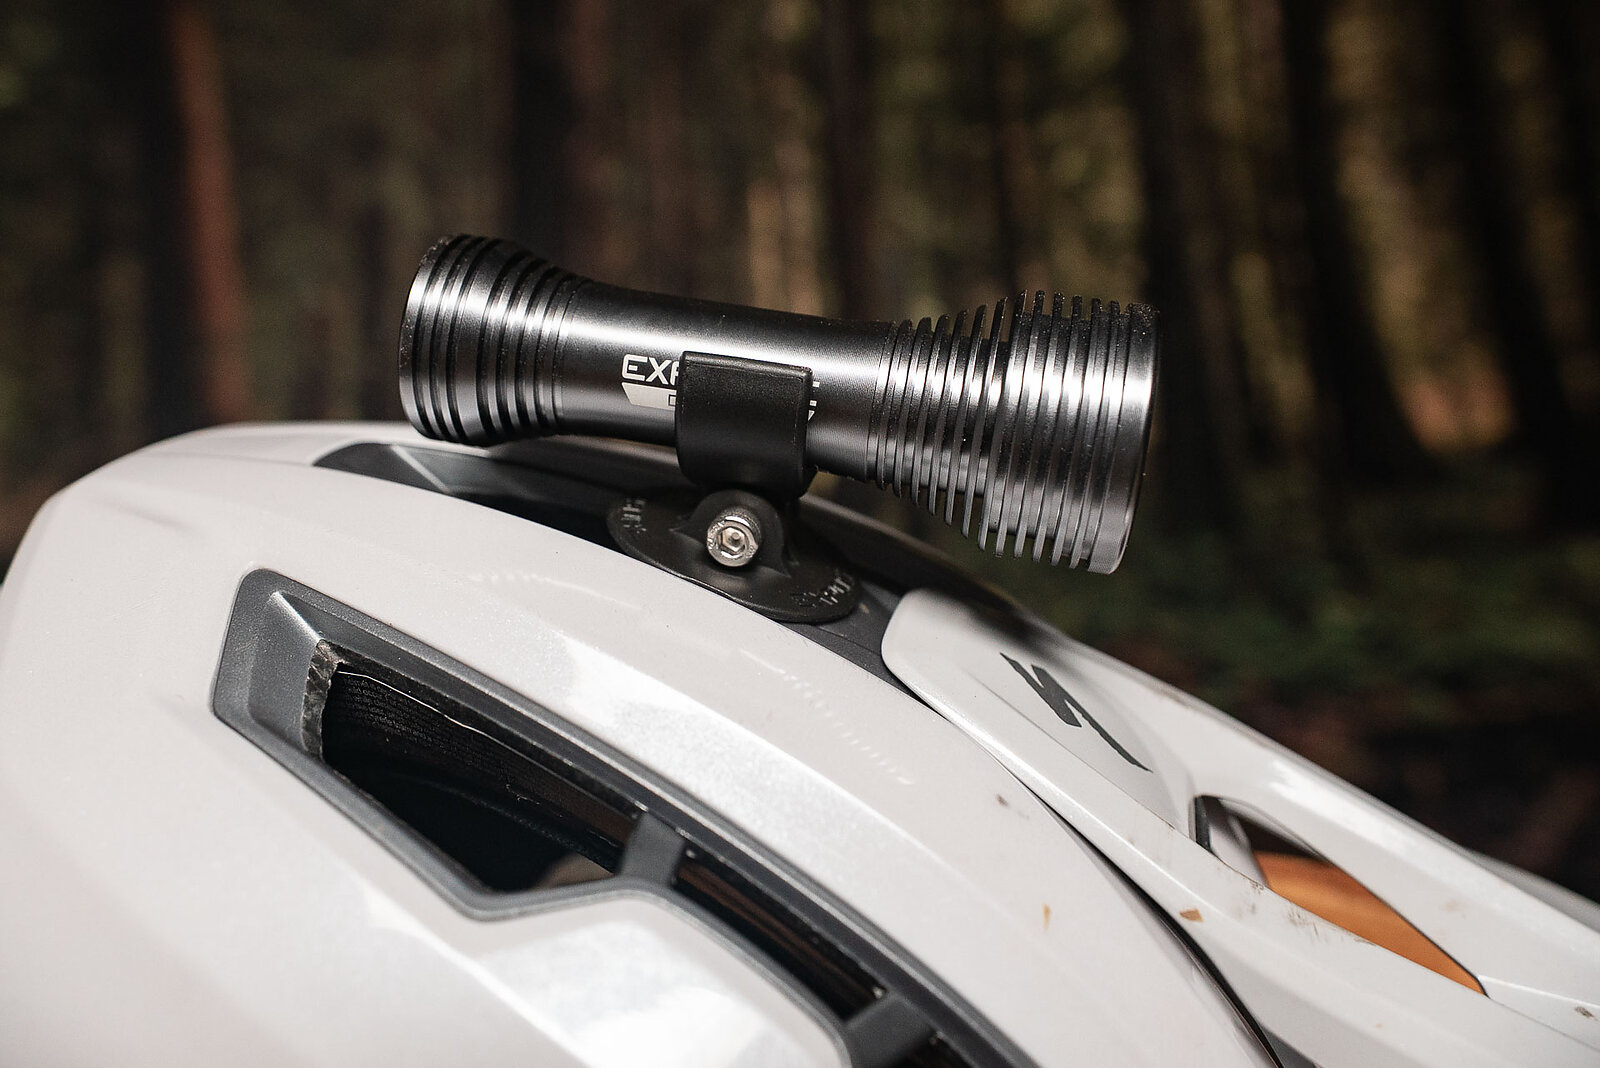
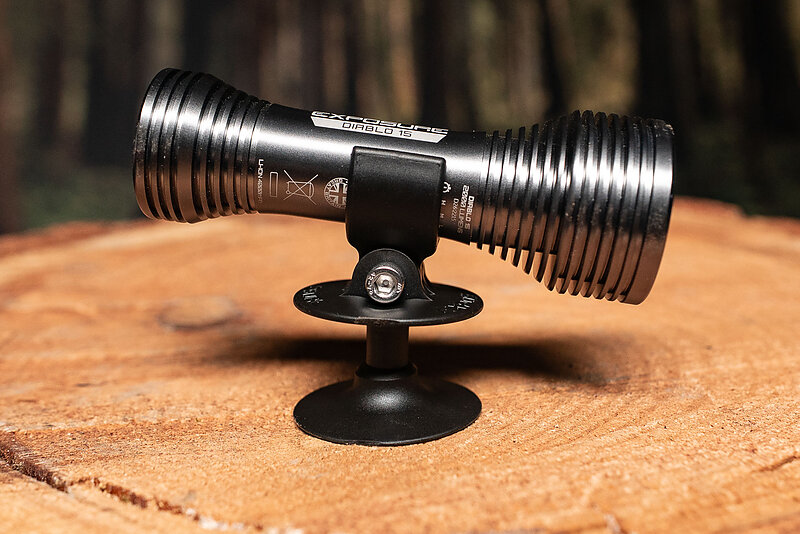
Exposure provides a variety of mounts for each light. I ended up using the Diablo 15 on Exposure’s supplied action cam mount, which slots through the vent on your helmet. This little bit of plastic is awesome. I’m used to running my helmet light on a stick-on mount, but so many trail helmets don’t have enough real estate for that. This mount is light, secure, and easy to move around.
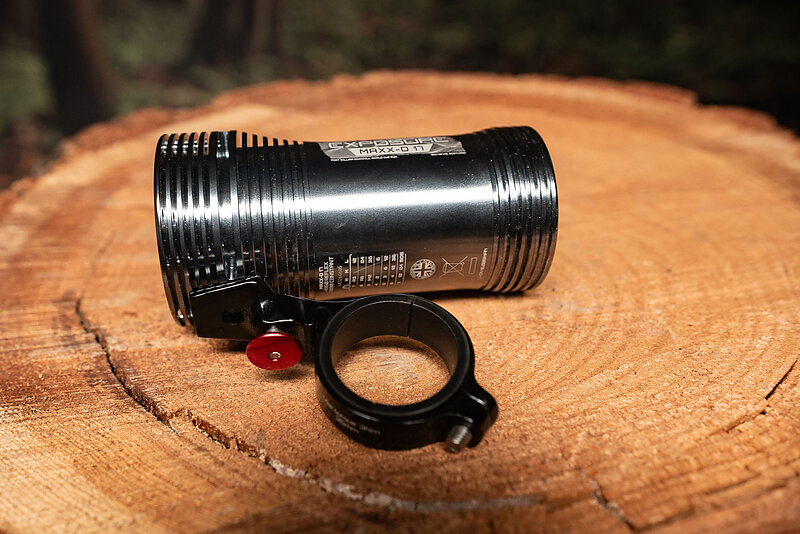
For the bar light, you can run Exposure’s bar clamp, the brand’s stem mount, or an action cam adapter that allows you to use any action cam clamp. I used the bar clamp. It’s very secure, and feels super premium, but the clamp isn’t secured to itself when it’s not on the bike, so it’s a bit of a hassle to move between bikes, and you’ll want to be careful to not lose any small pieces.
On the trail
I made two mistakes on my first ride with the Exposure lights: I didn’t read the instructions, and I didn’t fully charge them. They showed up in the mail. I got stoked, and went for a night ride. And then I struggled to understand the modes, and killed the Diablo 15’s battery before I made it home. But, once I read the instructions, and charged both fully, they’ve been absolutely excellent. And I think that initial experience is important when I think about my time with these lights. They’re not your typical chintzy plastic “strap ‘em on, push the button, ride your bike” light. Instead it’s worth taking your time, experimenting with different modes, and figuring out how best to use them for your riding.
For my riding, I stick to Mode 1 on both lights. On meat-powered bikes I manually swap between the high and low settings in that mode. With the Diablo, you can actually do this just by tapping the light with your hand, which is a great feature. For more rolling rides, or on an e-bike, I leave them in the more powerful Reflex setting and let them adapt their light to my riding. For both lights I can get Exposure’s claimed three hours out of that full-power mode, which fits the bill for most of my night rides.
But, after the initial puzzle to figure out my preferred modes, I barely think about any of that, instead I just put on my lights and ride. There’s a quick, but real learning curve to these lights, and then once you figure them out, they integrate seamlessly into day-to-day riding, while still allowing you to change up settings for extraordinarily settings like super long rides.
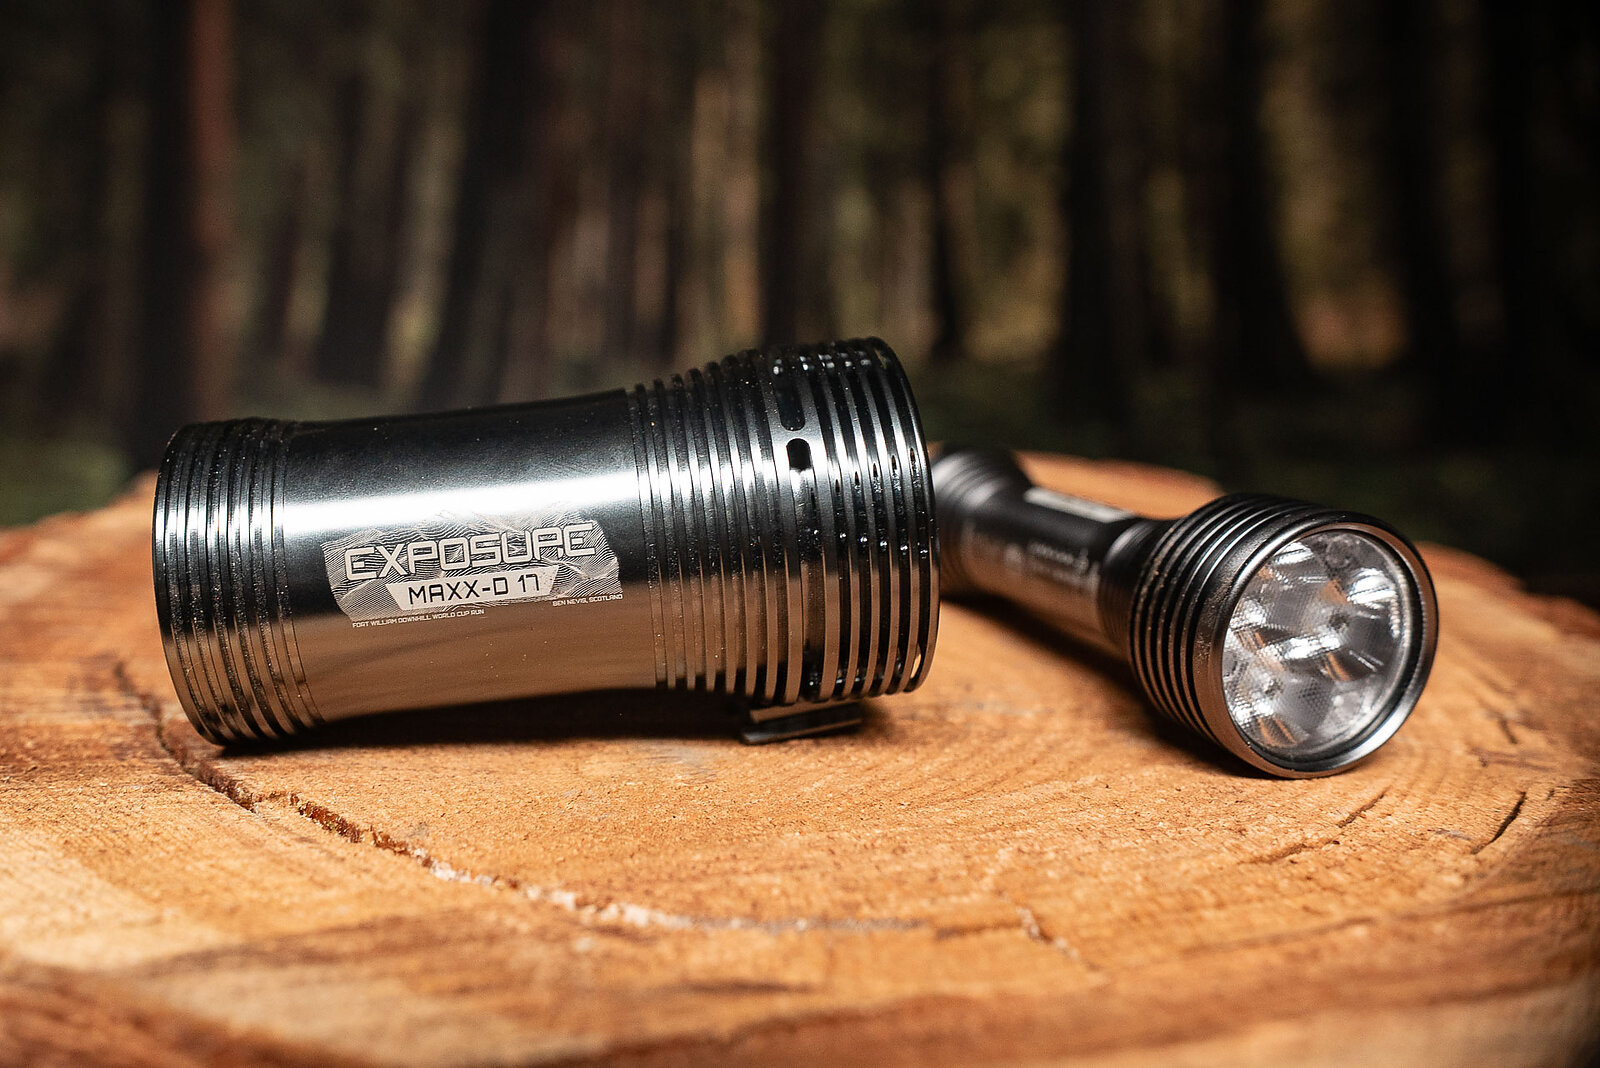
With bike lights, there’s always a distinction between stated lumens and useful light. This is not one of those “buy the one with the biggest number on the box” situations. Lens design and power modes play a big part into how confident you actually feel riding fast at night. Luckily, I found Exposure’s designs played very nicely with my eyes. I’m used to riding Outbound Lighting’s Portal and Evo combo, and at max power I think the MaXx-D 17 and Diablo 15 provide a brighter, but similarly usable amount of light. I swapped between these combos out on the trail a few times, and didn’t feel like there was a massive difference in my comfort at speed.
Where there is a difference is price. Exposure’s lights are not cheap, but they also don’t feel cheap. They feel burly, bomber, and built-to-last. They come with a three year warranty for the entire light, and a lifetime guarantee for the LEDs. Exposure will also repair lights in-house, and can swap out tired batteries if need be. So these lights present an interesting value proposition. It’s entirely possible to get an adequate light setup for less money. But the more you care about that Reflex tech, and the ability to fine tune every mode of the light to your riding, the more that price tag makes sense.
For Now
Exposure’s MaXx-D 17 and Diablo 15 lights are premium, high-end products, and the user experience reflects that. It’s worth investing the time to understand their multitude of settings, and dial them in for your rides, but once you do, we’ve been quite impressed with their quality and the ride experience they deliver.
Learn more: Exposure Lights